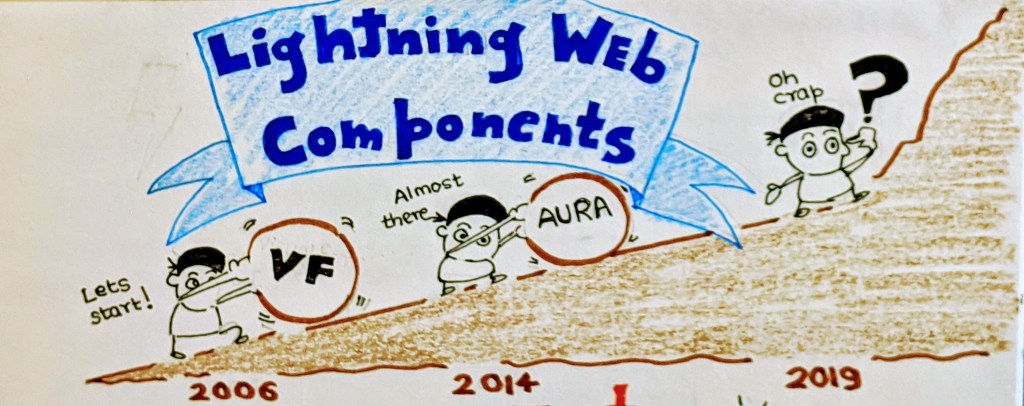
In the introductory blog post, we learnt about the ‘What-Why-How’ of a new paradigm of UI development in Salesforce called as Lightning Web Component (LWC) framework. It is next in the evolutionary phase after the Aura framework and Salesforce has made big bets on it by going open source.
In this post, we are going to go a level further and explore the various building blocks that make up a lightning web component. So let’s get started
Every Lightning web component is made up of 3 basic files –
- A HTML file – This file defines the structure of the component.
- A Javascript file – This file establishes the behaviour of the component.
- A metadata file – This is a configuration file which houses the metadata information.
Now lets look them in detail
HTML
Every Lightning component must have a HTML file with a root tag <template>. The naming convention of the HTML file is as follows
<component>.html
For eg : If you decide to name your lightning web component as ‘myComponent’ then the html file will look like – myComponent.html

The actual markup of the HTML goes inside the <template> tags as below
<!-- myComponent.html -->
<template>
    <!-- In goes the HTML markup of your supercalifragilisticexpialidocious component!!!! -->
</template>
On the browser, when the component is rendered, the <template> tag is replaced with actual name of the component. So the above component will be rendered as <c-my-component>(kebab case – Delicious !).
Now a very common scenario during UI development is to ‘Show/Hide’ certain parts of the component (markup) based on condition. This can be easily done using what is called as ‘directive’ in modern web standard parlance. One of the very commonly used directive is ‘if:true|false’ directive.
We are going to look at this in detail in the upcoming posts, but I just wanted to give you a sneak peek of what it looks like in HTML
The below component is composed of 2 templates. The second template is composed inside the parent template. Pay attention to the if:true={shouldHelloBeVisible} directive used in the second template which is used to dynamically show/hide the ‘Hello!’ message.
<!-- myComponent.html -->
<template>
    <lightning-card title="ConditionalRendering" icon-name="custom:custom14">
        <div class="slds-m-around_medium">
            <lightning-input type="checkbox" label="Say Hello" onchange={handleChange}></lightning-input>
            <template if:true={shouldHelloBeVisible}>
                <div class="slds-m-vertical_medium">
                    Hello!
                </div>
            </template>
        </div>
    </lightning-card>
</template>
We are going to look at how to set the ‘shouldHelloBeVisible’ property in the next section – Javascript
Javascript
Every lightning component must have have a Javascript file. It defines the HTML element. The naming convention of a Javascript file is as follows
<Component>.js
So if we have a component ‘myComponent’ then the javascript file name will be myComponent.js

clone tag: 3144497135384646552
Every lwc UI component must include a Javascript file with the below code
import { LightningElement } from 'lwc';
export default class MyComponent extends LightningElement {
// Your paracetamoxyfrusebendroneomycin code goes here!!
}
There is lot going on in those few lines of code. Let me break it for you. So
- import { LightningElement } from ‘lwc’ – In this line we are importing ‘LightningElement’ from the ‘lwc’ module. ‘lwc’ is a standard core module of Lightning Web Component framework. ‘LightningElement’ is the custom wrapper of the standard HTML element. Think of it like this – Before you can create an fusion ice-cream dessert, you are first bringing a vanilla (LightningElement) scoop from your fridge (lwc module) on your plate
2. export default class MyComponent extends LightningElement – Once you have the vanilla ice-cream on your plate, you are going to extend it with more flavours to create that perfect combination. So in this line we extend the base ‘LightningElement’ and give a name to our class (more about the class name in a second). With ‘export default’ keyword, we are also exporting this class so that other classes could eventually import it and then reuse/repurpose it for own use.
Javascript class names must have a Pascal naming convention. For eg : If the file name is ‘myComponent.js’ then the class name will be ‘MyComponent’ (first letter of each word is capitalized)
Javascript files in Lightning Web Component framework usually contains –
- The component’s public API via public properties and methods annotated with
@api. - Private properties
- Event handlers
Let’s look at the Javascript file for our myComponent (described earlier) which sets the ‘shouldHelloBeVisible’ property to conditionally render the template
// myComponent.js
import { LightningElement } from 'lwc';

export default class MyComponent extends LightningElement {
    shouldHelloBeVisible = false;

    handleChange(event) {
        this.shouldHelloBeVisible = event.target.checked;
    }
}
Pretty easy ! Isn’t it ? For a start – Yes !
Now our HTML and Javascript file are ready for action. But we need one last file to glue it all together – The metadata configuration file.
Configuration
Every component must have have configuration file. It defines the metadata values of the component and also the design configuration needed for Lightning App Builder.
The naming convention of the Configuration file is as below
<component>.js-meta.xml
So for a ‘myComponent’ the configuration file will be named as myComponent.js-meta.xml

If you don’t include a configuration file while defining the component and then try to push it in a Salesforce org, you will get the below error
Cannot find Lightning Component Bundle <component_name>Now let’s look at the configuration file for our component created for conditional rendering
<?xml version="1.0" encoding="UTF-8" ?>
<LightningComponentBundle xmlns="http://soap.sforce.com/2006/04/metadata">
    <apiVersion>48.0</apiVersion>
    <isExposed>true</isExposed>
    <targets>
        <target>lightning__AppPage</target>
        <target>lightning__RecordPage</target>
        <target>lightning__HomePage</target>
    </targets>
</LightningComponentBundle>
Here the target tags define where all in Lightning Experience we can use this component. So the above configuration file enables our component to be dragged on the App Page, Record Page as well as Home Page.
If isExposed is false, the component is not exposed to Lightning App Builder or Experience Builder.
But the above files – HTML, Javascript and Configuration are only the must haves? Yes ! You can optionally also define below files for your lightning web component
- An optional CSS File – To style a component, create a style sheet in the component bundle with the same name as the component. If the component is called
myComponent, the style sheet ismyComponent.css. The style sheet is applied automatically. - An optional SVG File – To include an SVG resource as a custom icon for your component, add it to your component’s folder. It must be named <component>.svg. If the component is called myComponent, the svg is myComponent.svg. You can only have one SVG per folder.
- Other Javascript Files – Use these JavaScript files to share code.
- Test Files – You can test your lightning web components using Jest framework. Test files must have names that end in “.js”, and the recommendation is to use “.test.js”.

Finally all of these files have to be bundled together under a component folder like below

To recap – Every lightning web component is basically structured around – A HTML file, A Javascript file and a Configuration File. We will continue to explore some advance topics on Lightning Web Component framework in coming posts. Till then – Stay safe and happy learning !